
Advanced Gameplay in Mobian Mayhem
Mixups, conditioning, oki, and the mindgames that separate a wall-combo player from a true lab monster.
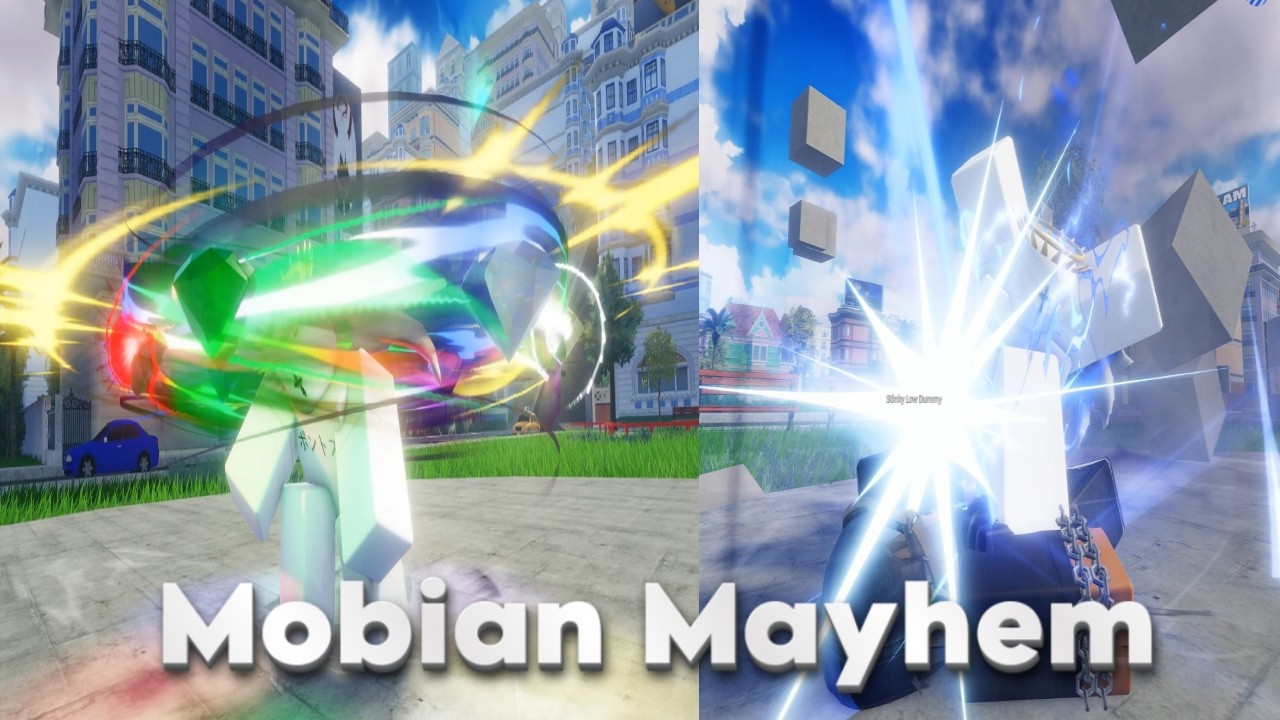
The controls page taught you four M1s and a front dash. The wall combo page gave you a confirm. This page is for when both players know those recipes and the real skill is choosing which layer to play in the next interaction. Advanced Mobian Mayhem is about conditioning, mixups, punish timing, and the knockdown game — the stuff that wins lobbies when the other fifteen people are still arguing about tier lists.
If you are still dropping Flare without the right-side dash, go back to Sonic combos first. This page assumes wall combos are automatic and awakening is a decision, not a panic.
Conditioning layers
Conditioning is making your opponent expect one thing so you can do another. In a 16-player server with chaos everywhere, conditioning is the difference between landing your confirm and getting third-partied mid-string.
Sonic conditioning. If you always start with three M1s into a down slam, a patient opponent will block on the third hit and punish the slam. The fix: sometimes do four M1s without slamming — walk back, then re-engage. When they start blocking expecting the slam, slam. Same visual cue, different reward.
Shadow conditioning. If you always use the first tool as a poke, they will start walking into it. Mix in a walk-up Ultimate Being when they respect the poke but not the grab range. Time stop conditioning works the same way: use it after a wall combo when they expect a normal confirm, not when they are already dodging.
Mixups on wakeup
Wakeup is the moment after you get knocked down and recover. What you do in the next half-second is a mixup — the opponent guesses, you try to make them guess wrong.
Sonic wakeup options.
- Block immediately: beats continuation but loses to a delayed grab.
- Delay block: beats late-grab attempts but loses to immediate M1.
- Dash on wakeup (Q): i-frames through the first hit but loses to a pre-emptive if they expected it.
- Jump + attack: beats block and dash but loses to a well-timed down slam.
There is no perfect answer. The goal is to be unpredictable enough that they cannot just repeat the same punish twice.
Shadow wakeup. Time Control / Chaos Control is your strongest tool on wakeup if you have meter. The threat of time stop changes what your opponent does — they may block instead of continuing pressure. Use that hesitation to create space and reset to neutral instead of trying to mash out.
The punish game
Punishing is hitting someone who used a move with recovery frames. If someone throws out a slow special and whiffs, you dash in and start your confirm.
What to punish.
- Flurry finisher cutscenes: the ender has recovery. If they finisher and you blocked or evaded, you have a window.
- Awakenings from full screen: Grand Slam and Ultimate Being whiff if you are not in range. punishing a missed awakening is free meter and often a wall combo.
- Rail rides from players who do not know when to hop off: jump in, slam, wall.
- Panic boosts: someone who boost-clashed and lost is usually still running. Catch them.
What not to punish. Time stop. Chaos Control freeze is not a punish window — it is a setup for the Shadow. Do not dash into a frozen opponent expecting a free hit; you walk into a time-stop conversion.
Knockdown and oki (knockdown tech)
Knockdown is when someone hits the ground after a combo. Oki is what you do as the attacker while they recover — the knockdown game.
Sonic oki. After a wall combo into Flare, the opponent is pushed to your right. If you side-dash that direction and resume M1s quickly, they are still in recovery. This is the ” Flare side-dash confirm” that looks like a mixup but is actually just oki off a wall bounce.
Shadow oki. After a time stop converts, you have a window to set up an Ultimate Being or just M1 chain. The freeze is not guaranteed damage — you still have to hit them. Treat it as an oki setup, not a kill confirm.
When to reset instead of continuing. In a 16-player lobby, a long combo attracts third parties. If you have a knockdown and the lobby is watching, sometimes it is better to take the safe confirm and reset to neutral than to go for a risky ender that donates your highlight to a Sonic waiting behind you.
Anti-team without the tool
The players and updates pages describe the anti-team cinematic. This section is about anti-team positioning without using the tool — how to avoid being stacked in the first place.
- Fight near walls, not in open plazas. Walls limit approach angles.
- Keep one opponent between you and the nearest threat. If two people are on you, one of them is always exposed.
- Do not emote mid-stock. The emote wheel (B / D-pad Right) is a death sentence if you open it during a string.
- If you see two players colliding in boost, do not follow the Sonic onto the rail — take the side angle and grab the loser.
Mindgames at high-level play
High-level Mobian Mayhem is about forcing mistakes, not just executing combos.
Reading dash patterns. If an opponent always dashes on wakeup, time a block into a grab. If they always block on wakeup, M1 them.
The false wall combo. Front dash near a wall without doing four M1s first. If they flinch, you just got free damage. This works once per opponent per stock.
Boost as bait. Running at someone who is not boosting looks like a free clash. But if you are Sonic and you see a Shadow holding W, they might be waiting for you to commit so they can time stop. Either clash with confidence or take the side angle.
When to hold meter. If you have awakening meter and are ahead in stocks, sometimes you do not Super. The threat of the cutscene changes how they play. A Shadow who sits on time stop is scarier than a Shadow who already used it.
Advanced practice routine
- In an empty server, practice conditioning: do the same approach three times, then mix on the fourth.
- Pick one opponent and focus only on reading their wakeup option for five stocks.
- When you have awakening, hold it for one full game. Note how the opponent plays differently.
- Watch YouTube showcases and pause before each confirm to guess what the player will do. Compare to what actually happened.
The tier list and character rankings are still useful here — but only as a starting point for understanding why certain tools win in certain situations. Execution and reads beat tier letters in every public lobby.
Frequently Asked Questions
Quick answers to the most common questions.
How do I stop mashing players?
Block the first hit, then grab on their recovery. Mashers have no mixup layer.
When should I not use awakening?
When you are ahead in stocks and the threat of the cutscene is more valuable than the damage.
How do I condition a Shadow who always time stops?
Approach from an angle they cannot convert from. Make them use it on your terms, not theirs.
Is anti-team worth using in 1v1?
No. It is a tool for group fights. In 1v1 the cinematic wastes time you could spend confirming.